

I installed my windshield as well as some other items such as the headlights, turn signals. windshield wiper, and mirrors.

The three items I used to install the windshield and rubber seal were dish soap, 3/16" nylon cord, and a windshield locking strip tool. The first step is to fit the seal around the glass. Next I used dish soap as a lubricant on the rubber seal and around the opening of the Isetta body where the glass was going to be installed. I then inserted the 3/16" cord that had been soaking in soapy water into the the 2 sides and top edge of the rubber seal. I then set the glass with the rubber seal on the bottom edge of the window opening. Then from the inside of the car I gently pulled the cord which pulls the rubber seal over the body flange. The last step is to install the locking strip. The locking strip tool is very inexpensive and really makes installing the locking strip fairly easy.

My front windshield went much smoother than the rear glass. My rear glass was the first piece of auto glass that I've ever installed. One thing that happened when I was installing the rear glass was that my dish soap and water mixture I was using as a lubricant dried out to quickly. The result was that it got difficult to pull the cord and the rubber seal got a little tattered on the inside of the car in a few spots trying to pull it over the body flange without enough lubricant. On the front I used straight dish soap slathered on the car and rubber seal and kept a wet sponge handy to keep everything wet and slippery. The second time around the rubber seal pulled over the metal lip much easier. One other thing I was a little worried about was the fit of an aftermarket windshield. Thankfully this windshield manufactured by UROGLAS in the UK fit quite nicely.

A couple of ebay scores in this photo. I picked up these old style Hella headlights as well as genuine Hella turn signals for what I felt were some very reasonable prices.


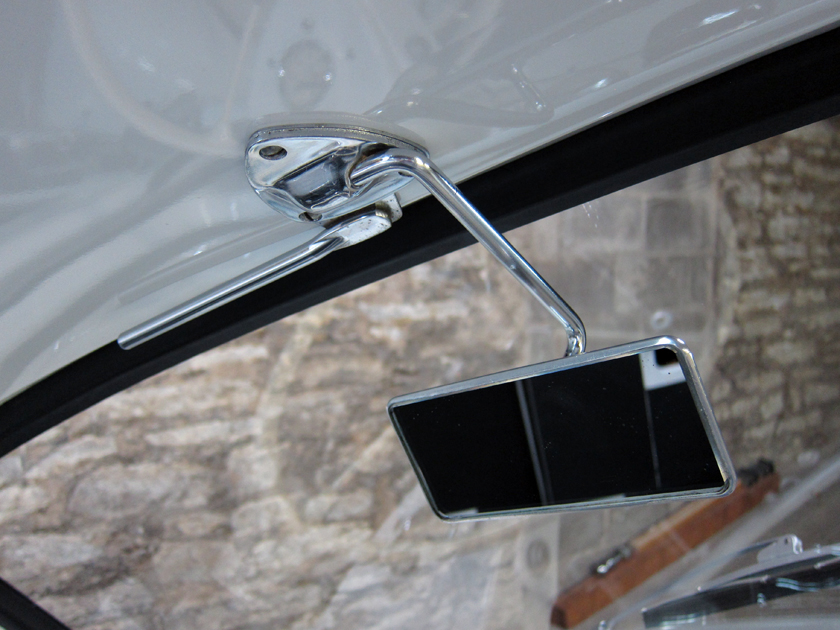
The original Albert mirror head on my side mirror was pretty messed up. It had been crudely pried open to replace the glass, so it was deformed and had plier marks all around the edge. I really wanted to use the original Albert mirror and spent quite a bit of time trying to rescue it, but in the end I decided to find a replacement. Now I see quite a few Bumm reproductions of the Albert mirrors on ebay, but it seems they weren't around a few years ago when I was looking for a replacement. I ended up using a period correct NOS German made Frese mirror.


A few more interior items installed. I still need to install the hi/lo and turn switches and connect the dash wiring to the terminal block and then all I have left is the side and front door interior panels, sunroof, and seat upholstery.
wow your creative good eye
ReplyDelete